
How to replace MacBook display
Estimated 3 minute read Updated 9/21/2023, 4:28 AM EST
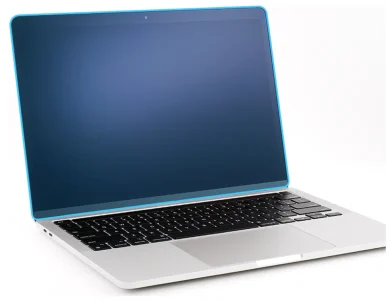
Use this guide to replace the display on your MacBook Pro 2022 (M2)
Remove the following parts before you begin:
- Bottom case
- Display hinge covers
- Vent/antenna module
Tools:
- Torx T3 screwdriver
- Torx T8 screwdriver
Removal
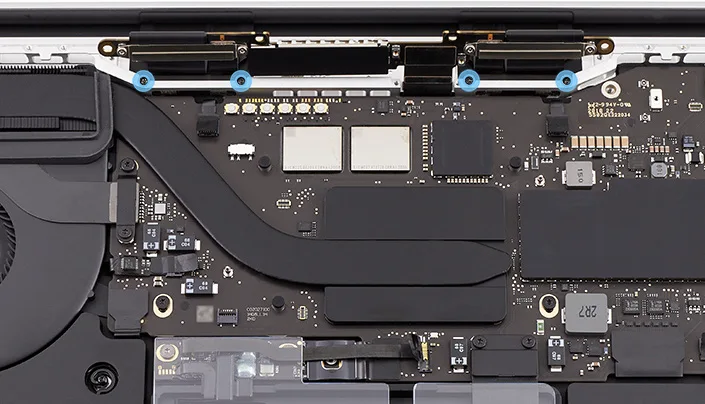
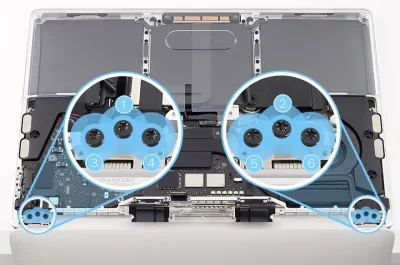
- Use the T3 screwdriver to remove the four T3 screws from the two spring tensioners on the internal frame.
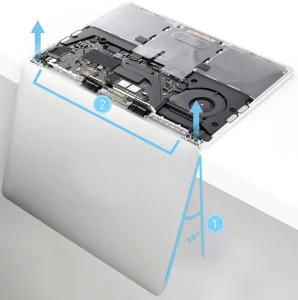
- Open the computer and place it facedown on a clean surface with the display hanging down over the edge of the table.

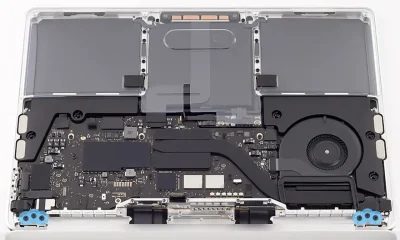
- Use the T8 screwdriver to remove the six T8 screws from the display hinges.
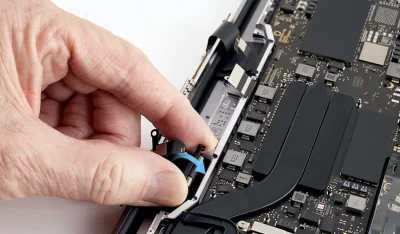
- Pull the display toward you about 15 degrees ❶. Lift the display up and ensure that the hinges clear the edge of the top case ❷.
Reassembly
Ensure that you remove all protective liners and tape from a replacement display.
- Place the display on the top case.
Note: The display includes the TCON board and the spring tensioners.
2.Ensure that the TCON board and spring tensioners are inside the top case.
3.Use the T8 screwdriver to partially reinstall the six T8 screws into the display hinges in the order shown.
- Use a T8 screwdriver to fully reinstall the six T8 screws into the display hinges.
- Roll and tuck the body of each spring tensioner so it sits flush against the internal frame.
- Use the T3 screwdriver to reinstall the four T3 screws into the two spring tensioners.
Reinstall the following parts to complete reassembly:
• Vent/antenna module
• Display hinge covers
• Bottom case
• Display hinge covers
• Bottom case
After you’ve completed all removal and reassembly steps, learn how to initiate the System Configuration process at https://support.apple.com/self-service-repair.
